Hi,
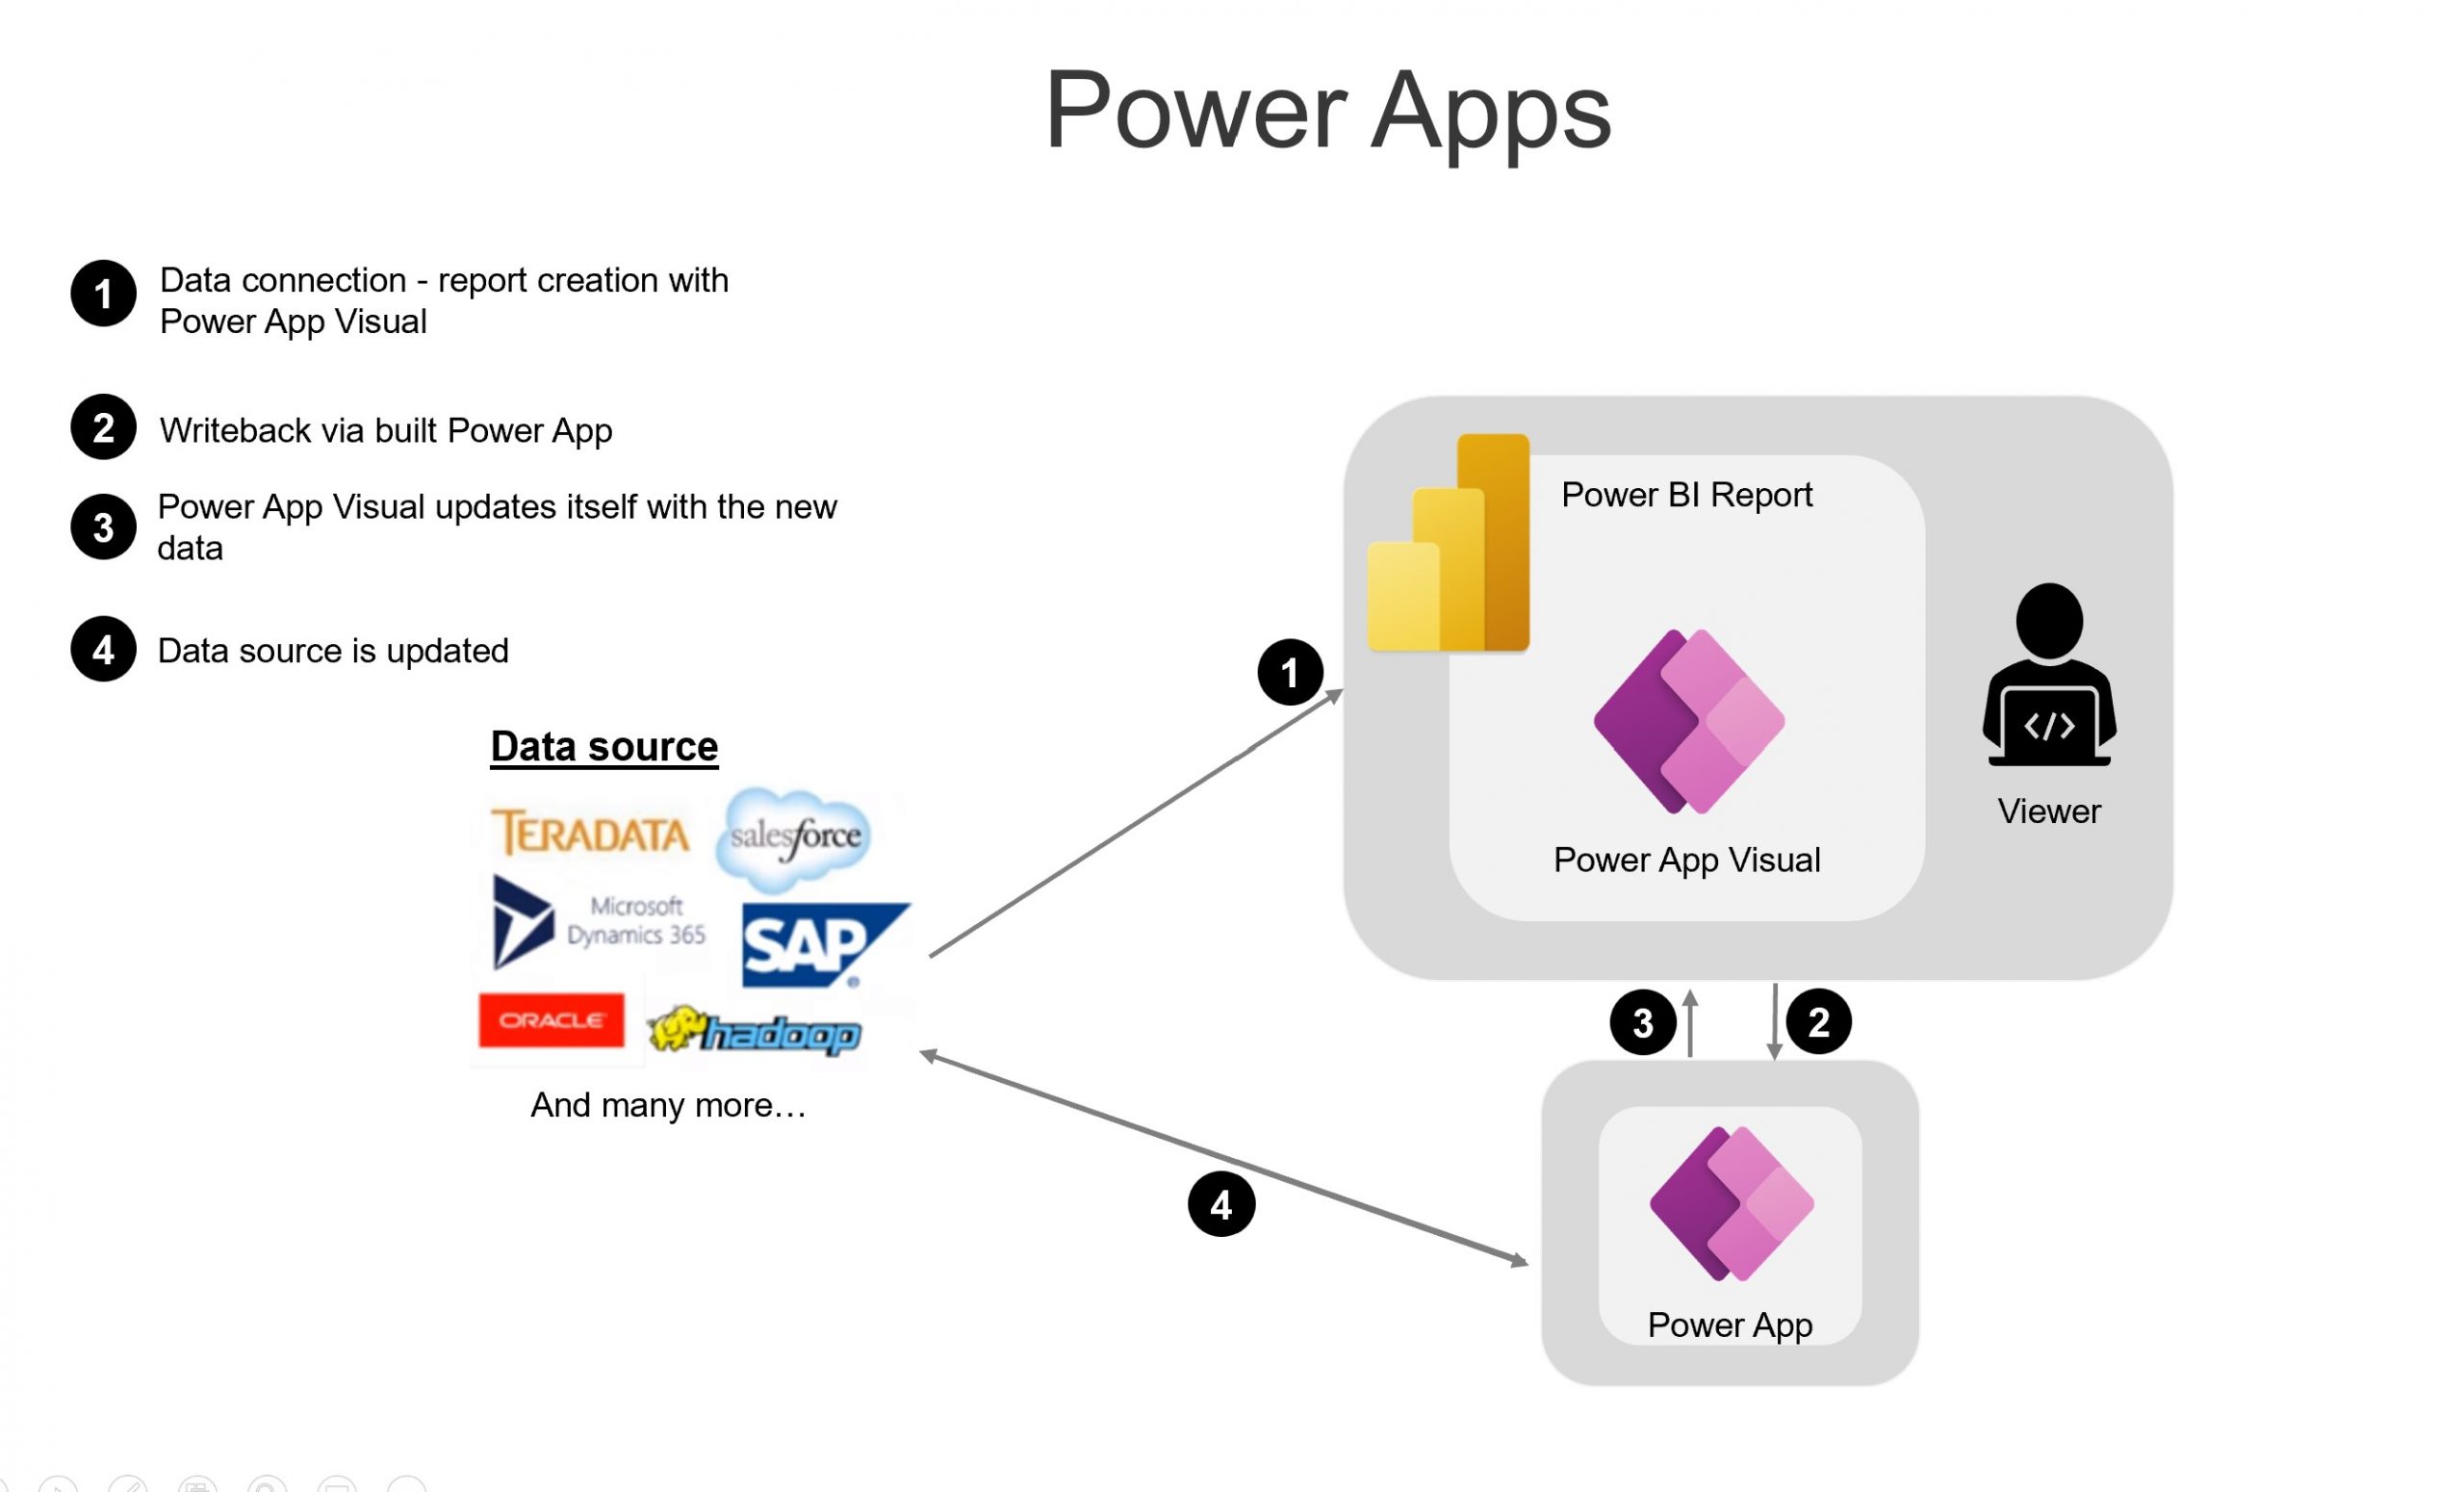
in diesem kurzen Beitrag möchte ich euch zeigen wie Ihr Power Apps mit Power BI verbinden könnte. Einige von euch kennen das Power Apps Visual im Power BI vielleicht schon? Um dieses Visual nun nutzen zu können, solltet ihr als erstes eine Datenquelle haben in welche ihr auch zurückschreiben könnt. Das könnte z.B eine SQL Datenbank sein oder ganz simpel ein Excel auf einem OneDrive. Ich habe mich in meinem Beispiel für das Excel File entschieden, da es keine weiteren Lizenzen benötigt./
In this short post I would like to show you how you could connect Power Apps with Power BI. Some of you may already know the Power Apps visual in Power BI? In order to use this visual, you should first have a data source into which you can also write back. This could be a SQL database or a simple Excel on a OneDrive. In my example I decided to use the Excel file, because it does not require any additional licenses.

Erstellen der Datenquelle/ Create Data source
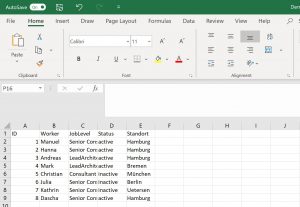
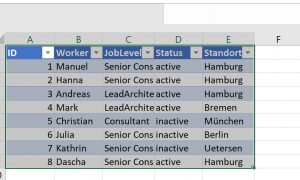
Erstellt euch im ersten Schritt eine Excel in der Ihr alle benötigten Felder habt. Denkt daran die Daten nun als Tabelle zu formatieren – makiert dazu den Bereich und drückt CTL +T./
In the first step, create an Excel sheet in which you have all the fields you need. Remember to format the data as a table – select the range and press CTL +T.


Erstellen der Power App/ Create the Power App
Geht nun zur Seite: https://make.powerapps.com/ und erstellt mit eurer Excel eine Power App indem ihr die Datenquelle direkt auswählt. Power Apps erstellt euch daraufhin eine Vorlage. Ändert nun die Ansicht von Hoch- auf Querformat. Löscht danach alle überflüssigen Seiten und fügt in der Ansicht EditScreen1 eine Tabelle ein. Um nun die Verbindung von der Tabelle zu der Eingabe zu erstellen müssen nur eine weitere Konfiguration vorgenommen werden. Fügt hier unter Eigenschaften – Item – DataTable1.Selected – ein. Alt letzten Schritt muss nun noch die “Haken” Schaltfläche eingestellt werden, damit Änderungen auch übernommen werden. Die Funktion die hier eingefügt werden muss ist SubmitForm(EditForm1). Nun könnt ihr die App oben rechts testen, indem ihr auf Play drückt./
Now go to https://make.powerapps.com/ and create a Power App with your Excel by selecting the data source directly. Power Apps will then create a template for you. Now change the view from portrait to landscape. Then delete all superfluous pages and insert a table in the EditScreen1 view. To create the connection from the table to the input, you only have to make one more configuration. Add here under Properties – Item – DataTable1.Selected. In the last step, the “Check” button must be set, so that changes are also applied. The function that has to be inserted here is SubmitForm(EditForm1). Now you can test the app in the upper right corner by pressing Play.
Verbinden der Power App mit Power BI/ Connect Power App with Power BI
Im letzten Schritt öffnet einfach Power BI und ladet die Daten aus dem Demo File in Power BI. Wählt nun das Power App Visual aus und fügt ein Feld aus dem Excel File ein. Danach könnt ihr euer schon erstellte App auswählen und diese auch nutzen. Ihr könnt auch zusätzliche Visuals einfügen. Wenn ihr das File nun veröffentlicht wird bei jeder Aktualisierung euer Datenset mit den geänderten Daten aus der Power App ausgefüllt. Wenn ihr nun noch einen Power Automate Button einfügt könnt ihr aus dem Bericht heraus bestimmten wann ihr die Aktualisierung durchführen wollte./
In the last step, simply open Power BI and load the data from the demo file into Power BI. Now select the Power App Visual and insert a field from the Excel file. After that you can select your already created app and use it. You can also insert additional visuals. If you publish the file now, your dataset will be filled with the changed data from the Power App at every update. If you now add a Power Automate button, you can specify from the report when you want to perform the update.